Mastering Lightroom Workflow: Fast Editing with Consistency and Creativity Optimize Your Editing Process in Lightroom
As a professional photographer with over 15 years of experience, I’ve gone through countless editing styles and workflows. But one fundamental principle has remained unchanged: I strive to make every shot as perfect as possible right in the camera.
Besides photography, I’m also a wife and mother, so I know the value of time. That’s why efficiency has always been at the core of my editing process. I’ve developed an optimized workflow in Lightroom that allows me to edit faster without sacrificing quality, creativity, or consistency.

Lightroom and Photoshop Facebook Group
Creating a Style: Fast, Consistent, and Authentic Although my editing style has evolved over the years, I’ve always gravitated toward a light and airy aesthetic with warm tones and vibrant accents. I prefer minimalist and natural editing, using subtle adjustments that enhance the image without making it look overprocessed.
Of course, good editing starts long before opening Lightroom. Lighting, location, camera settings, weather, and even the client’s wardrobe—all of these play an important role. While we can’t control everything during a shoot, editing is the one area where we have complete control: our post-production superpower.
Creating a Simple and Effective Lightroom Workflow For nearly seven years, I’ve been using the beautiful preset collections from Pretty Presets, and they’ve truly been a game-changer. These tools allow me to edit quickly and efficiently, helping me refine my workflow and become a more confident and consistent editor. Over the past few years, I’ve finally found my unique style, largely thanks to the inspiration and knowledge I’ve gained through Pretty Presets.
Even more significant has been the Pretty Presets Facebook community. Being part of this creative and supportive space has been a true gift. Photographers from around the world gather here to share their work, support one another, and exchange tips. It’s a safe and inspiring place for learning, growth, and celebrating each other’s successes.
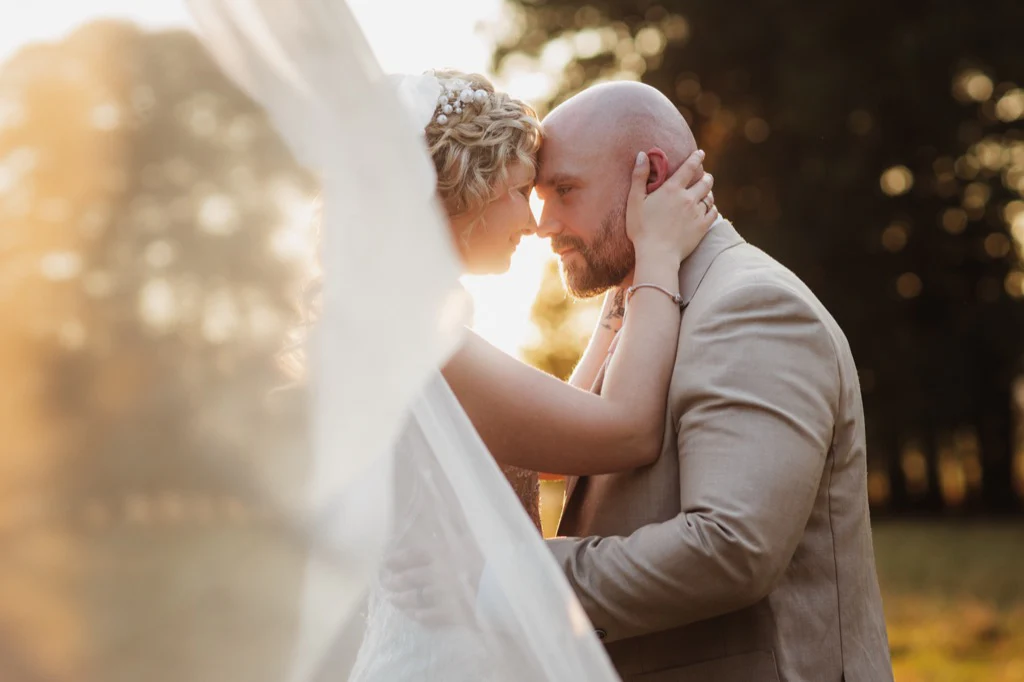
As for my workflow, I prefer to keep things simple and organized. I’ve tried tools like Aftershoot for culling photos, but I’ve found that a more “hands-on” approach works better for me. That’s why I do everything from start to finish in Lightroom Classic.
Adapting the Workflow for Different Types of Shoots While many photographers choose to specialize in a particular niche, I enjoy variety—from studio shoots to outdoor portraits during golden hour. My work encompasses a wide range of lighting conditions and environments.
Naturally, my workflow may vary slightly depending on the shoot, but there are several core editing techniques I always return to, and I’m happy to share them with you.

Editing Process in Lightroom
My Lightroom Workflow: Step by Step Step 1: Import and Efficiently Cull Images After importing images into Lightroom Classic, I begin the first round of culling directly in the Develop module. I prefer a “hands-on” approach, carefully reviewing each photo and marking favorites by clicking the small circle in the top-right corner of the thumbnail. This automatically adds them to the Quick Collection in the Library module, making it easier to access and organize selected images later.
Step 2: Apply Presets and Finalize Selections When moving to the editing phase, I conduct a final cull, removing any images from the Quick Collection that don’t meet the criteria. This ensures that only the strongest and most consistent photos make it into the final gallery.
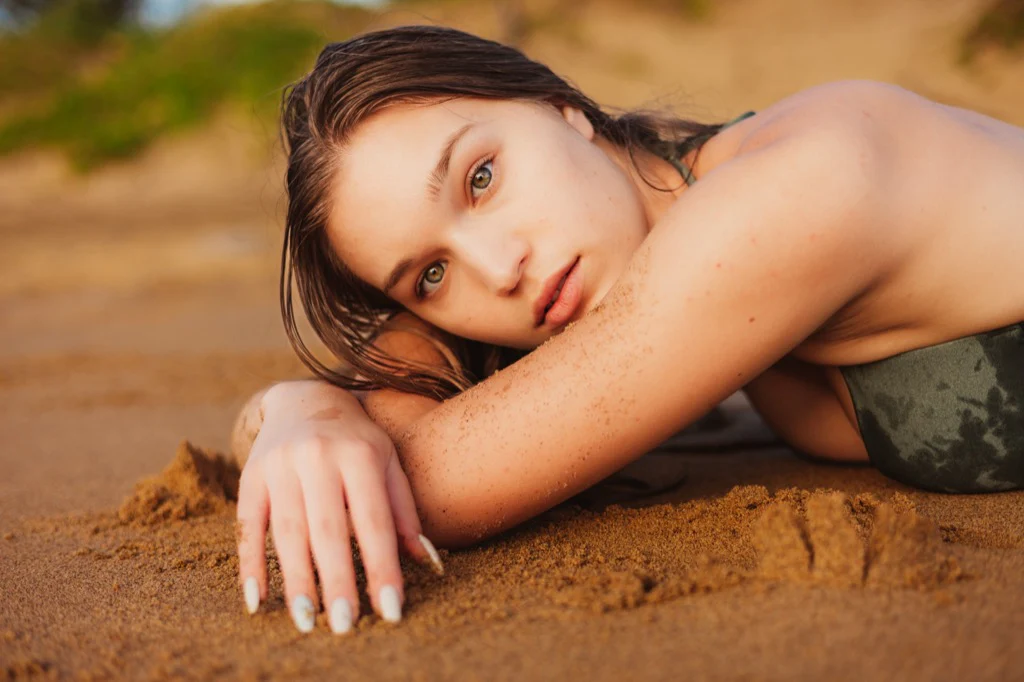
I always start my editing process with the Clean Portrait preset from the Pretty Presets AI Portrait PRO collection. It’s the perfect foundation for a clean and polished look. I typically set the Amount slider between 55 and 75, depending on the lighting and skin tones in the image.
Next, I add the Sahara preset from the Warm and Organic Millennium Preset Collection. I love this preset for its soft warmth and subtle glow—it adds just the right depth to my photos. Most of the time, I don’t even need to adjust the Amount slider: the preset is perfectly balanced “out of the box” and incredibly versatile for different shoots and lighting conditions.
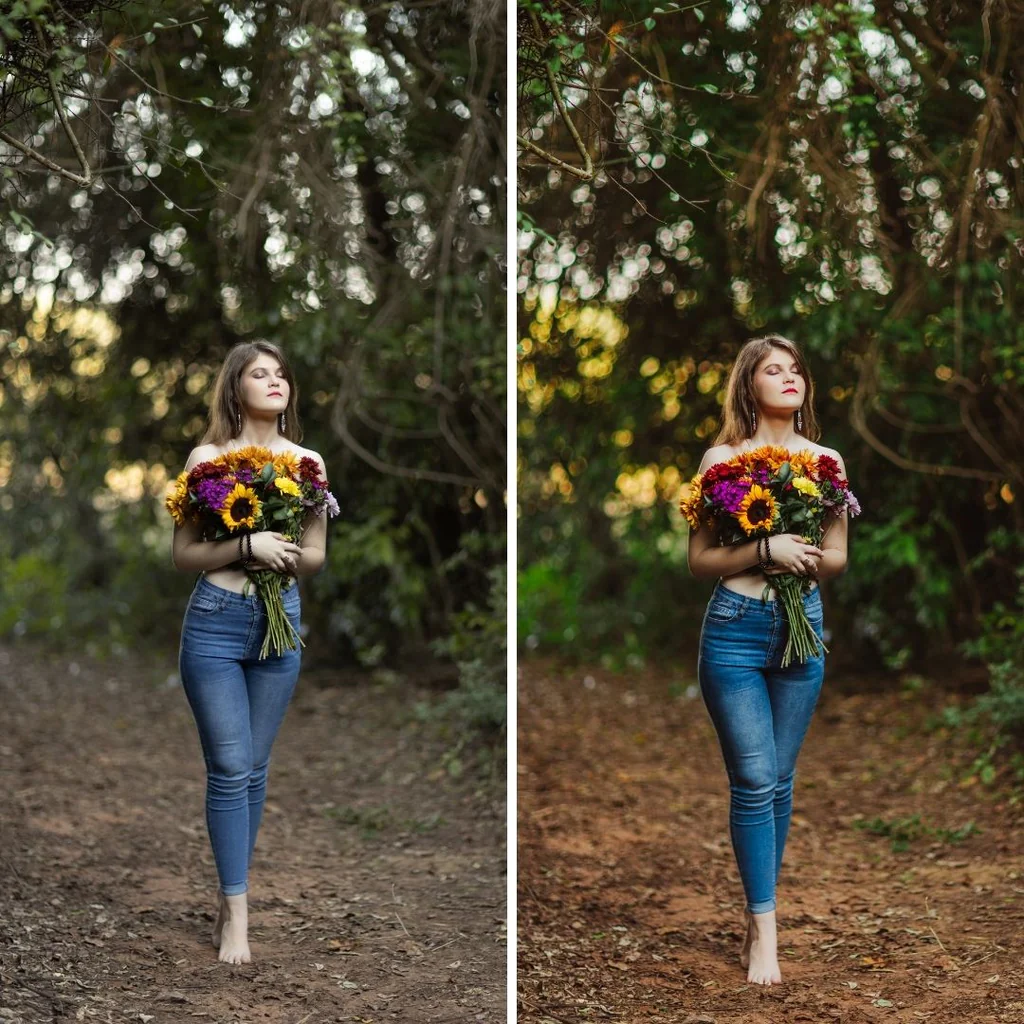
Warm Presets for Lightroom
Step 3: Cropping and Tone Adjustments Next, I crop the image to improve composition and highlight the subject. Then, I move on to tonal adjustments:
- Adjust exposure for proper overall brightness.
- Fine-tune highlights and whites to bring out the brightest areas.
- Lighten or darken shadows and blacks to add depth and detail.
- Use the contrast slider for a subtle boost in dimension.
- Finally, adjust temperature to achieve the perfect balance of warm and cool tones.
These small tweaks significantly enhance the image and help convey the mood I want to create: natural, clean, and full of life!

Step 4: Batch Editing with Copy and Paste When I’m satisfied with the adjustments, I copy them using Ctrl+C (PC) or Cmd+C (Mac). In the copy settings dialog, I select “Check All” but make sure to uncheck “Crop,” as each photo may require individual cropping.
Then, I move to the next image and paste the settings using Ctrl+V (PC) or Cmd+V (Mac). This simple step is part of my batch editing process—it saves a ton of time and ensures consistency across the entire session.
If the photos were taken in the same location and under the same lighting conditions, additional adjustments are rarely needed. However, if the location or lighting changed, I go back and make necessary tweaks, cropping each photo individually for the best composition.

Workflow in Lightroom Classic
Additional Techniques to Enhance Photos While my basic workflow remains unchanged, I have several additional tools and adjustments I use to enhance certain images, especially close-ups or complex scenes. Here are some of my favorite techniques:
- Enhancing Eye Catchlights: For portraits, especially close-ups, I use the Eye Finisher from the Pretty Presets AI Portrait Pro collection to accentuate the sparkle in the eyes. I usually set the Amount slider around 65—enough to enhance without overdoing it.
- Adjusting Background Exposure and Warmth: When I need more control over the background, I use the Scene tool from the same AI Portrait Pro collection to fine-tune exposure and warmth. It’s a great way to balance the image without affecting the subject.
- Softening with Clarity: For a dreamier look, I slightly reduce Clarity. This softens skin and creates a beautiful background, especially in romantic or whimsical shoots.
- Selective Color Adjustments: If a photo needs extra color correction or mood enhancement, I adjust the HSL sliders, typically focusing on reds, oranges, yellows, and greens—ideal for refining skin tones and natural scenes.
- Spot Removal with Generative AI: The Generative AI Remove tool has completely transformed my retouching process. Whether it’s a blemish, skin imperfection, or unwanted object in the background, this tool is my new favorite for quick and seamless fixes.
- Sky Enhancements for Beach Shoots: For beach photos, I love using the Pretty AI Sky Recover tool from the AI Portrait Pro collection. It adds depth and subtle drama to the sky without compromising the overall softness of the image.
Editing Photos Faster in Lightroom
Final Thoughts: Trust Yourself and Enjoy the Process When it comes to editing, trust your intuition—and don’t forget to have fun! Avoid the trap of comparing your work to others. Instead, draw inspiration from colleagues, learn from their experiences, but always stay true to your creative voice. Your style is unique, and that’s what makes your work so powerful.
As my grandfather used to say, “You’re never too old to learn something new. They can take everything from you, but never your knowledge.” These words have guided me throughout my photographic journey and remain just as relevant today.
We’re incredibly fortunate to be part of an industry that’s constantly growing and evolving. There are always new tools, fresh perspectives, or interesting techniques to explore. The possibilities are truly endless—isn’t that amazing?
So keep learning, creating, and, most importantly, stay true to yourself behind the lens!
This translation:
- Maintains the professional tone of the original
- Accurately conveys technical terms (presets, exposure, tone adjustments, etc.)
- Preserves the structure with headings and lists
- Uses natural English phrasing
- Retains all key points and examples from the original text

