
How to Photograph in Harsh Desert Sunlight Photography in Harsh Light: Desert Edition
Photography is an art form that heavily depends on light. While we all prefer shooting in soft, diffused light, there are times when harsh light is unavoidable—especially when shooting outdoors at midday, such as during weddings, elopements, or portrait sessions.
So how can we create stunning images despite “difficult lighting”? Let me share techniques I’ve learned throughout my career. And since this is the “desert edition,” there are no trees to hide behind!
Lightroom & Photoshop Facebook Group
What Is Harsh Light?
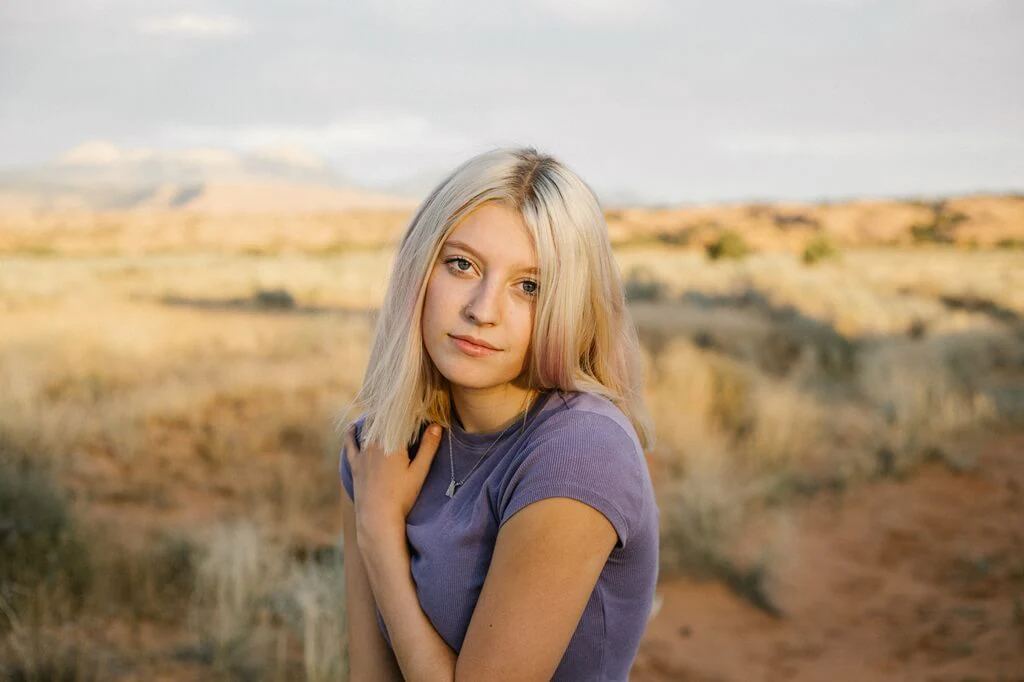
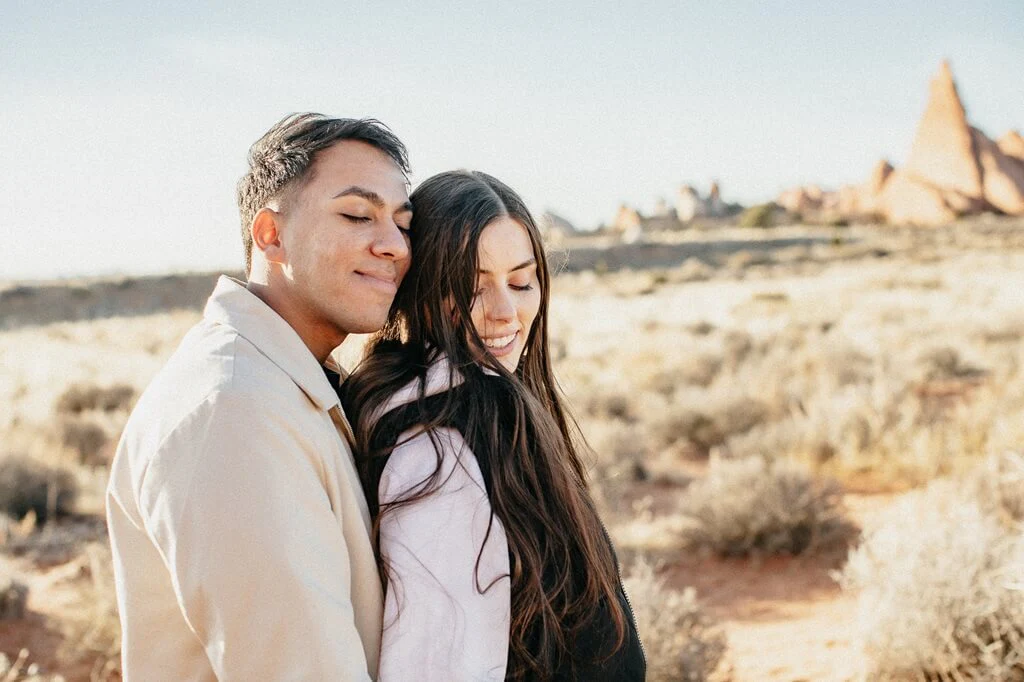
When I talk about harsh light, I mean lighting that creates strong shadows and high contrast, often resulting in lost details and unflattering portraits (uneven skin tones and harsh shadows on faces). This type of light typically occurs between 10 a.m. and 4 p.m.
However, with the right techniques (and a positive attitude), harsh light can also be used to create beautiful and unique images.
In this article, we’ll explore how to shoot in harsh desert light, along with some tricks that work even when you have trees or structures to provide shade.
Tip 1: Shoot in RAW
Using RAW format when photographing in harsh lighting conditions provides greater flexibility in post-processing. This is essential for preserving details in both highlights and shadows and for easily adjusting white balance.
Tip 2: Prioritize Highlights When Exposing
In harsh light, it’s crucial to adjust your camera settings to avoid overexposure or underexposure. If you must choose, expose for the highlights—portraits with blown-out highlights are less appealing.
Keep your ISO as low as possible and use a fast shutter speed to reduce the amount of light entering your shot. Aperture is where you have the most room to experiment.

Tip 3: Use Varied Lighting Angles
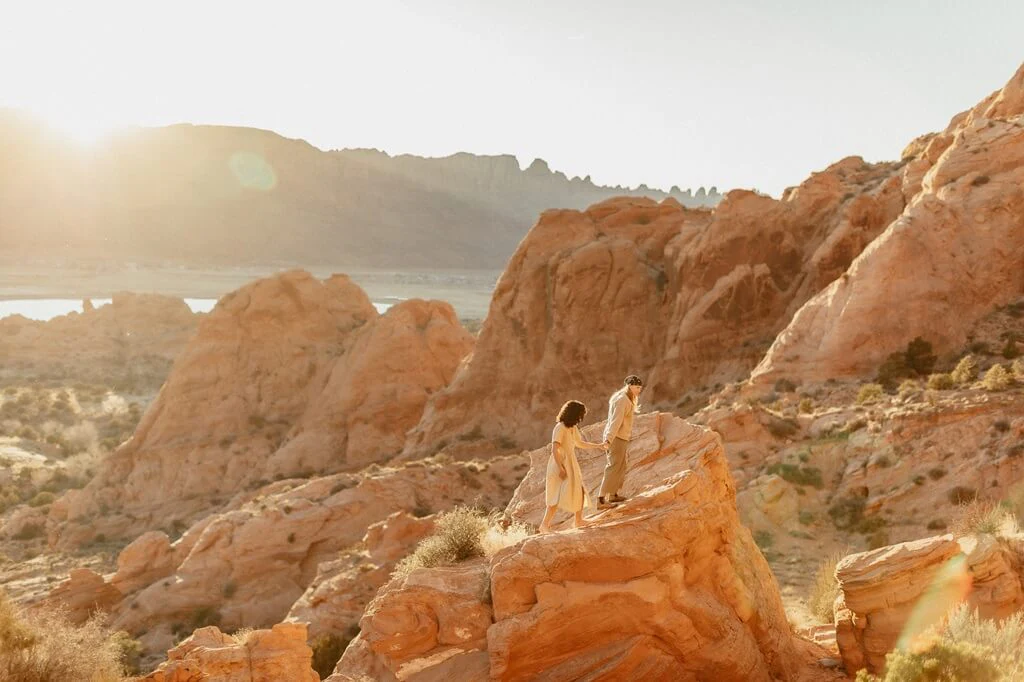
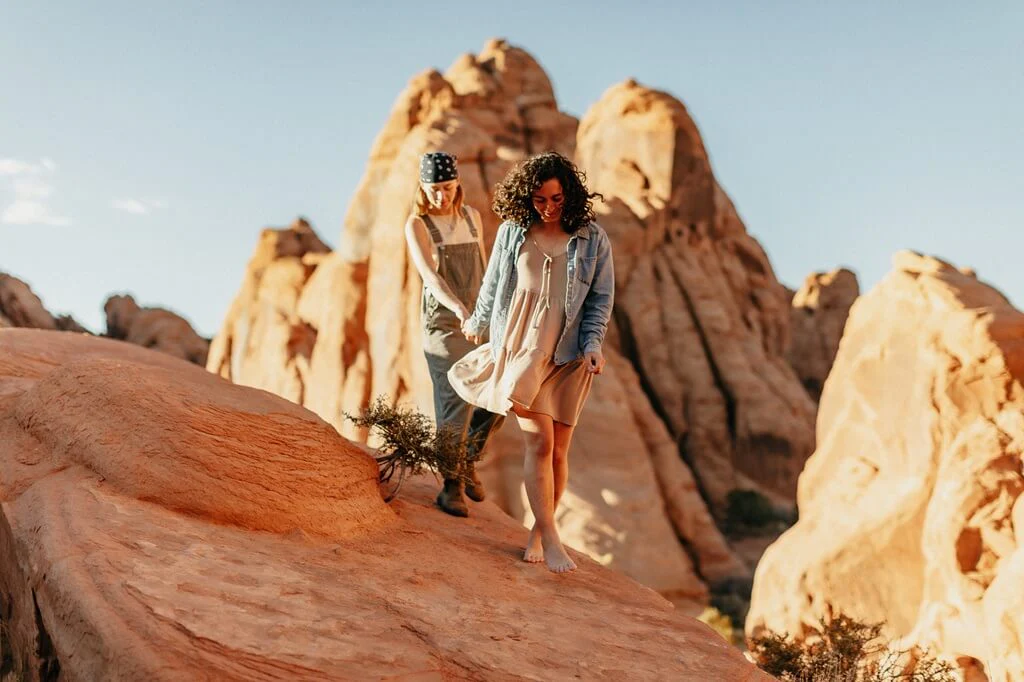
The sun is directly overhead only for a short time each day. At other times, position your camera at an angle to soften the impact of harsh light.
I prefer backlighting at midday. When arriving at a shoot, I first scout for the best lighting spot and position my subjects there.
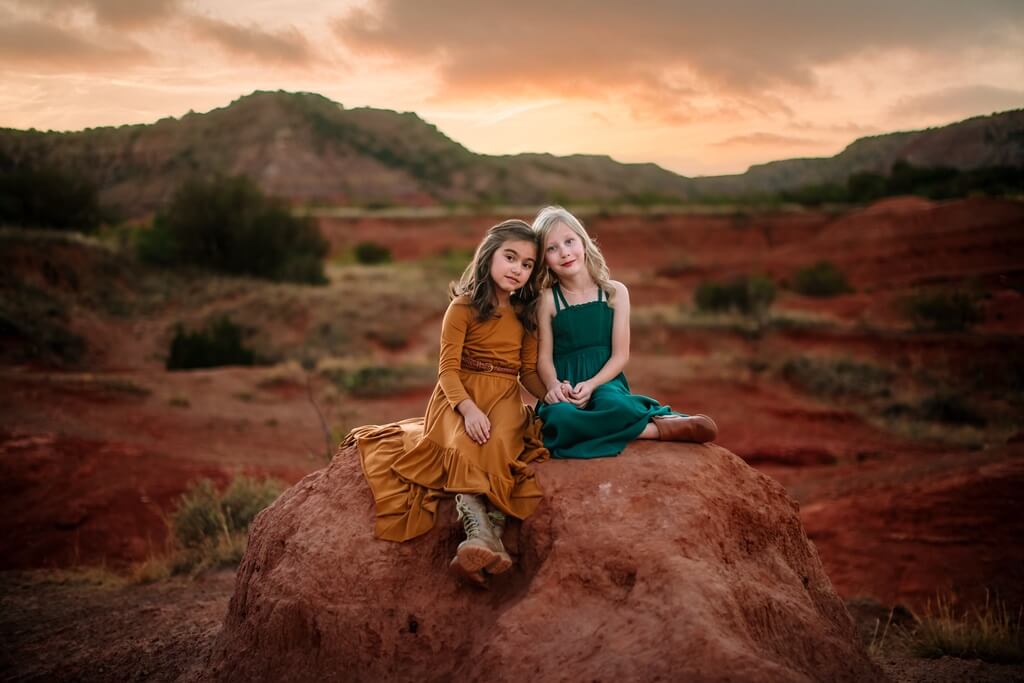
During sunrise or sunset, experiment with different lighting angles (side, front, or backlight) for spectacular results.
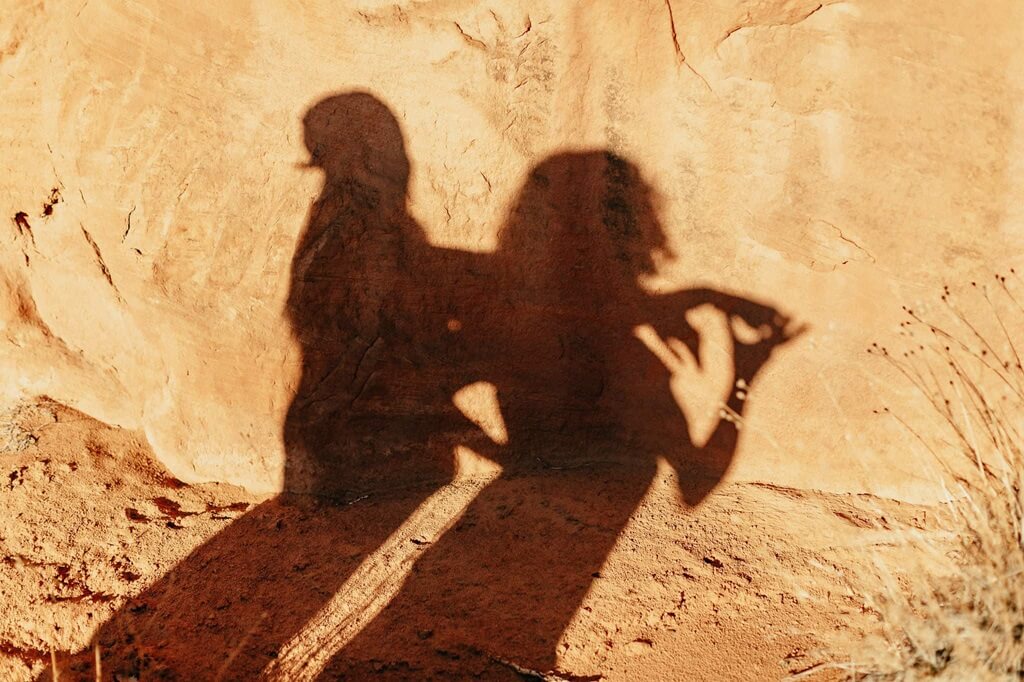
Tip 4: Embrace Shadows
Instead of eliminating shadows, incorporate them as compositional elements. Shadows add depth and visual interest, guiding the viewer’s eye through the image.
Mastering this approach will enhance your creativity and the artistic value of your photos.
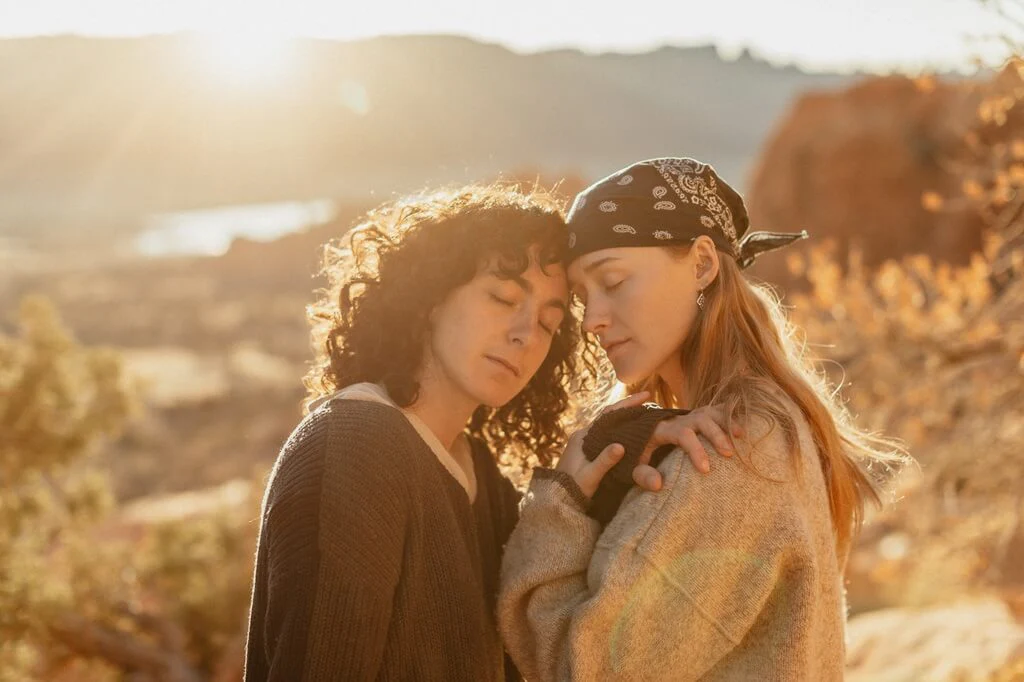
Tip 5: Use Backlighting
Backlighting occurs when the primary light source (like the sun) is behind your subject. This technique can create ethereal effects, such as lens flares or rim lighting.
There’s no single “right” way to use it, but aiming for a “clean” look under midday sun often yields excellent portrait results.
Tip 6: Experiment with Silhouettes
Harsh light is perfect for silhouette photography. Place your subject against a bright background (like the sky or a lit wall) and adjust exposure to emphasize highlights.
Try different poses and framing to create striking, emotion-filled silhouettes.
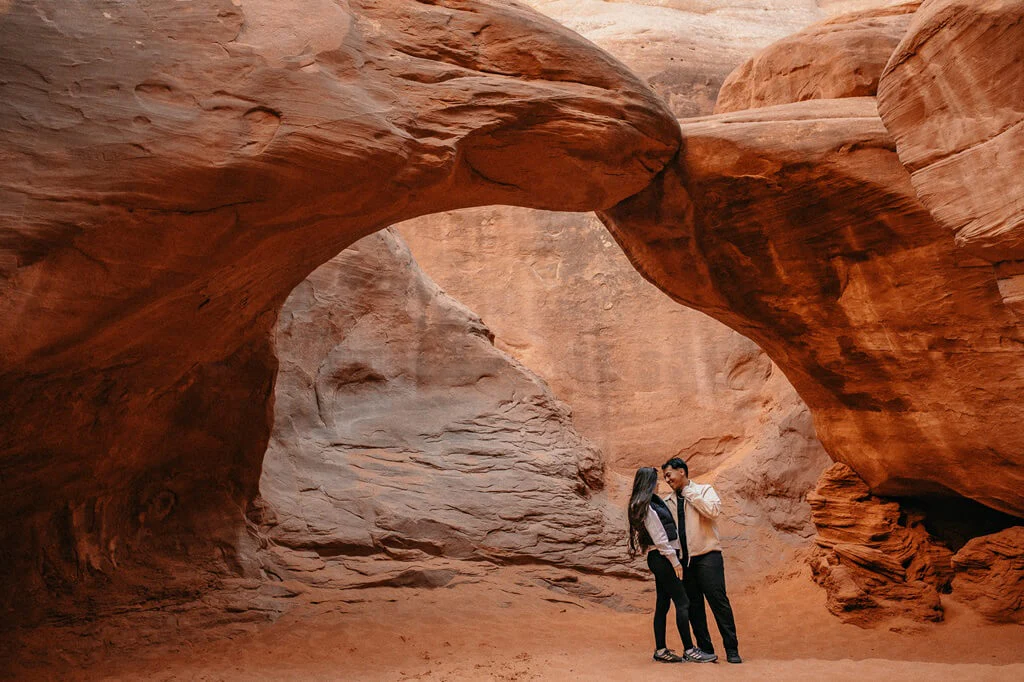
What If You Have Shade from Landscape Features?
If you’re shooting in an area with trees or structures, consider these tips:
- Seek Shade: Look for shaded areas under trees or large rocks to soften harsh sunlight and create more flattering lighting.
- Use Tall Grass to Diffuse Light: Tall grass acts as a natural diffuser, creating a softer glow on your subjects.
- Spread the Light Source: Shoot in areas with indirect light or use objects to scatter sunlight. Diffused backlighting creates a gentle glow around your subject.
What to Avoid
- Hotspots on Faces: Caused by direct sunlight. Position subjects in shade or have them turn their back/side to the sun.
- Dappled Light: Light filtering through trees can create uneven shadows and unnatural skin tones.
Photographing under harsh desert sunlight is challenging, but with these techniques, you can create unique and beautiful images!